


If your DIY silicone squishy leaves color on your fingers, incomplete mixing is one possible cause. Pigment needs to spread evenly through the liquid silicone before you pour it into a mold. The key is to mix the entire batch thoroughly—not just stir until most of it looks colored.
How Uneven Mixing Can Cause Color Problems
When you add pigment to liquid silicone, it needs to disperse throughout the mixture. A few quick circles with your mixing stick can leave concentrated streaks of pigment, especially along the sides and bottom of the cup.
Those unmixed areas can produce an uneven finish. They may also contribute to color transfer if pigment is left poorly incorporated. However, color rubbing off does not prove that mixing was the only problem. An unsuitable colorant or incomplete curing can also affect the result.
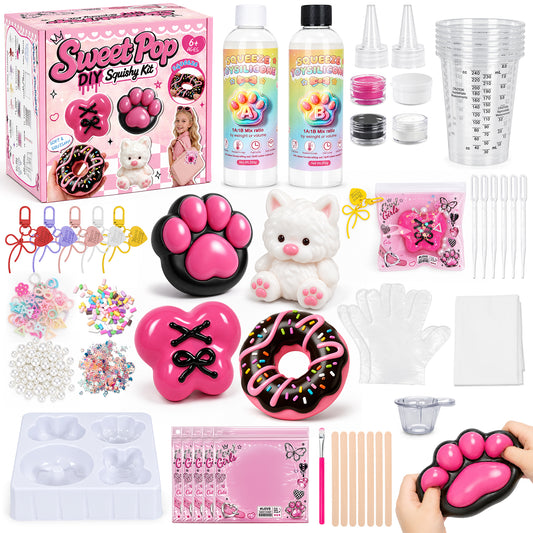
Use the pigment supplied with your DIY squishy kit, or one confirmed as compatible with its silicone. Follow the kit’s mixing order and quantities rather than adding extra pigment to make the color stronger.
How to Mix Silicone and Pigment Evenly
1. Measure Before You Mix
Prepare the silicone components and pigment according to your kit’s instructions. Keep the specified silicone ratio: adding more of one component does not make up for poor mixing.
Have your mold ready before combining the components. Once mixed, silicone has a limited working time before it starts to set.
2. Reach the Sides and Bottom
Stir steadily, moving your mixing stick through the whole cup. Scrape material from the sides and bottom, then fold it back into the center.
Pay attention to the corners where the bottom meets the wall. Pigment can collect there while the middle of the mixture already looks evenly colored. Changing direction helps you reach areas that repeated circles may miss.
3. Use Time as a Guide, Then Look at the Mixture
For the DIY method covered here, the recommended mixing time is more than three minutes, until the pigment is evenly distributed. This is a method-specific recommendation, not a universal rule for every liquid silicone. Your kit’s instructions and stated working time take priority.
Do not stop simply because three minutes have passed. Look for a consistent color throughout the mixture, with no dark streaks, pigment clumps, or concentrated patches.
| What You See | What to Do |
|---|---|
| Dark streaks running through the mixture | Continue blending within the silicone’s working time. |
| Pigment stuck to the cup’s sides or bottom | Scrape it into the center and mix it through. |
| An even color throughout the cup | Pour as instructed, then allow the full curing time. |
An even color is a useful visual check for pigment distribution. It does not confirm that the silicone ratio is correct or that the finished piece has fully cured.
4. Let the Silicone Cure Fully
After pouring, leave the mold undisturbed for the time specified by your kit. A surface that looks set does not necessarily mean the whole piece is ready to squeeze.
Avoid handling it early to test the color. Never use a microwave or other improvised heating method to speed up curing. Your finished squishy is a toy, not food.
The main takeaway: mix through the whole cup, scrape the sides and bottom, and look for uniform color before pouring. Use the three-minute recommendation only where it fits your kit’s instructions. Careful mixing and full curing give your next DIY squishy a better start.
Tags: