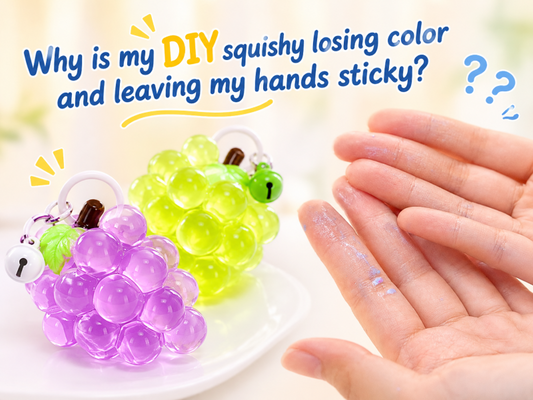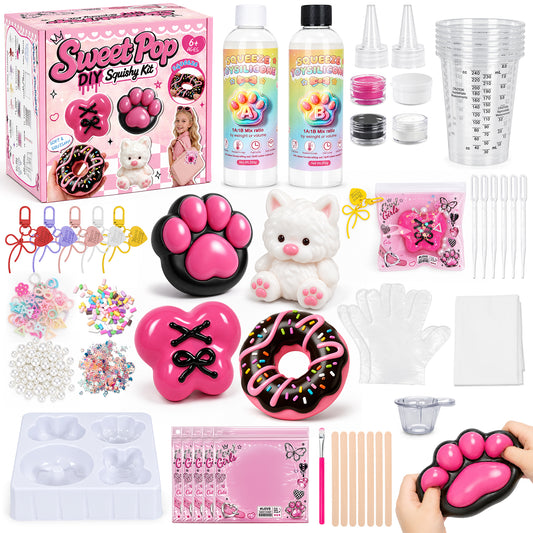
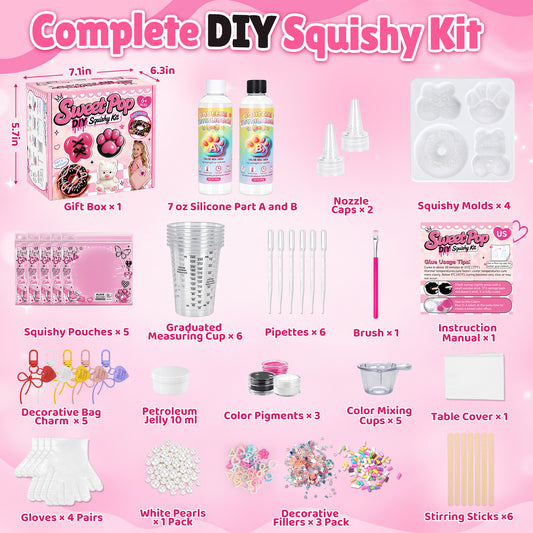


If your DIY squishy silicone sets in the cup before you can pour, a warm room may be shortening your working time. For kits that allow it, mix your pigment into Part A first, then add Part B once you are happy with the color.
Why Your Silicone Sets Before You Pour
Once Parts A and B are combined, curing begins. You have a limited window to mix and pour before the silicone becomes too thick to flow. This is called working time, or pot life.
Higher temperatures can shorten that window for platinum-cure silicone. If you mix both components and then spend several minutes adjusting the color, the mixture may begin setting before your mold is filled. Manufacturer guidance confirms that heat reduces both working time and curing time for this silicone type.
Pay attention to room temperature, especially above 77°F (25°C). (This is a useful reminder for the method discussed here, rather than a fixed cutoff for every silicone. Your kit’s formula and recommended operating temperature determine how much time you have.)
If the mixture has already become rubbery or solid, start a fresh batch. Cured silicone cannot be melted back into a pourable liquid. Adding more Part A or Part B will not reverse the cure.
Mix Your Color First, Then Add Part B
(When your kit permits coloring Part A separately, the following sequence lets you finish adjusting the shade before the two components begin curing together. )Pre-mixing compatible pigment into one component is an established silicone coloring method; follow your kit’s specified component and mixing order.
1. Get Your Mold and Tools Ready
Set out your mold, measuring cup, mixing stick, and pigment before combining anything. Keep the workspace away from direct sunlight, heaters, and other heat sources.
If the room is too warm, move to a space within your kit’s recommended temperature range. Allow warm materials to reach that temperature before starting.
2. Measure Part A
Pour the required amount of Part A into a clean mixing cup. Follow the kit’s instructions for measuring by weight or volume.
Keep tools used for Part B separate at this stage. Accidentally introducing Part B can start curing before you finish coloring.
3. Add Pigment and Adjust the Color
Add the supplied pigment, or a colorant confirmed as compatible with your silicone. Stir it into Part A, scraping the sides and bottom until the color is even.
Make your color adjustments now. This gives you time to blend the shade without using the working time that begins when A and B meet.
4. Measure and Add Part B
Once you are happy with the color, add Part B in the ratio specified by your kit. Calculate the amount from the silicone components as instructed; do not count the pigment’s weight as additional Part A.
Do not reduce Part B to slow curing. Changing the ratio can prevent the silicone from curing correctly.
5. Mix Thoroughly, Then Pour Promptly
Blend A and B fully, reaching the sides and bottom of the cup. Follow your kit’s mixing instructions, then pour within its stated working time.
Avoid rushing essential mixing. Coloring Part A first saves time for mixing and pouring—it does not slow the reaction after Part B is added.
Prepare your mold, work at the recommended temperature, and finish coloring Part A before adding Part B when your kit allows it. This simple change in order helps you use the available working time effectively and reduces the chance of losing a batch in the cup.
Tags: